Friday, April 12, 2013

DIY Refashion Man's Tee to a Woman's

I love a man's t-shirt. All except for 2 things: the boxiness and the neckline. Otherwise they have all of the cool logos. Logos that I want on a woman's shirt. But gosh darn it- I hate those prices. Even at Walmart, the asking price is $17 -$20. And on top of that the women's shirts are too short for my long torso. I might as well be wearing a mid-driff shirt. Seriously, not cute. 

So what I do is go to my trusty Goodwill or Salvation Army and snag up shirts for $1 - $2. (those prices make me happy all the way around!) And a few snips and cuts and sews later I've got a more feminine shirt. 

Here is how I refashion mine: 

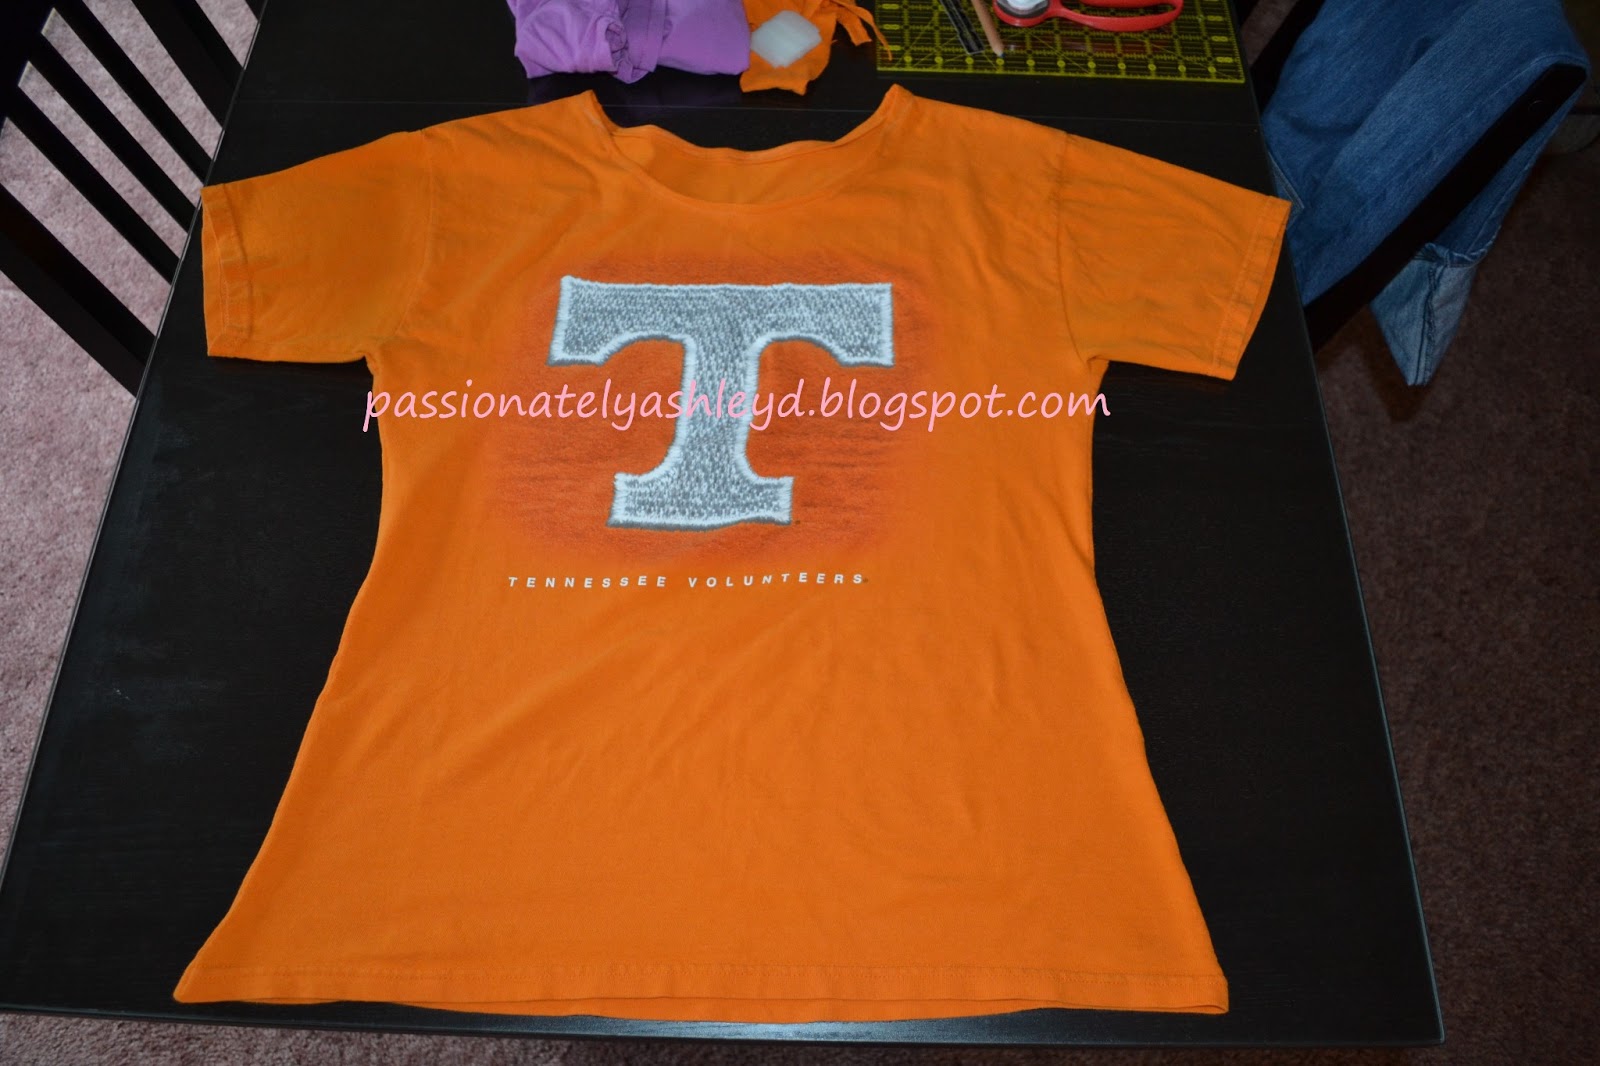
Here's the before: Go Vols!


I may be Square but I don't like to wear 'em.
Next, use a t-shirt you already have as a guide for where you want the curve to be. 


Using chalk, mark where you're going to sew.


Then pin in place. 


Sew then cut the excess off. 


So pretty...but not done yet! 


Now the fun part- getting rid of that horrible neck. How do you guys wear that? Well, stupid question because if you had any other neckline I would say, "Hmm..." Mark the general area where you think you want your neckline. 


Pin in place. Try on very carefully- getting a pin stuck in your neck is no laughing matter. So girly, am totally loving this!


Sew and voila!

So much better...butter..better...you know what I mean, K! ;) 


I love this so much more! :) Sure hope this inspires you to chop up those boxy shirts and make 'em yours. Rock those curves ;)

Hugs,

A. 

P.S. As soon as I got done with this post- I catch Charlie showing me he approves of my handy work and knows how to rock the shirt too- by putting butt cheek prints on it. That's true love isn't it?


Tuesday, April 9, 2013

DIY Ironing Board Re-cover

I love my ironing board. I actually use it and it makes my clothes look fantastic but I don't love it when I can't take a picture of a tutorial I'm working on and have a nasty looking cover to accompany pictures. It just doesn't look right. 

Exhibit A: 


And here, against my better judgement is proof of what I mean when I say "a nasty looking cover": 


Ugh, so embarrassing! But, hey, I'm human and not prone to sudden urges to tackle awkward issues such as these. Enter in the clearance fabric section of Walmart and I had a light bulb moment. For $2.50 worth of material (that's 2 1/2 yards of material) and some binding tape that Granny gave me I tackled this issue. 

Here's the material that caught my eye: 


This ditsy little print was actually kinda cute and out of my norm. I figured it was perfect. Only prob was that it was thin. That light bulb flickered again and said, "Just keep the material folded!" That made sense. 

Now, before I begin note that not all ironing board covers are the same. Mine has a sewn in elastic band which was held in with binding tape. All I took apart was the binding tape and elastic band and the nose. 

So I laid the fabric out, laid the cover face down on the material and pinned it down solid. 


Zig-zag stitch your way around it. 


Cut off the access material. (And snap a quick picture of Charlie who was loving this project and the scraps which he claimed as his from the other cats!)


I then cut out a matching tongue part which hugs the nose of the ironing board, sew right sides together then flip out. 


Next, use the binding tape (Thanks, Granny!) and stitch your way around the entire cover. Be sure to follow the directions on the package!


Once you have the first seam done then you're going to flip right side out and stuff the elastic cord into the binding before pinning down. Stitch it all the way around again and you're done! 


Put that bad boy on and get to work ironing whatever clothes are stacked up around it. 


Since we're at the end, I have a few more pictures of Charlie that I took during. He was quite the little helper. I've never been able to work on any projects like this before and get to enjoy him getting a kick out of it and getting to snuggle up mid-project. 


He's checking it all out. 

He wanted the backs of his ears scratched. Little Love Muffin Man that he is. 

How can you not love that face? He's the apple of my eye. 

This is a first. He laid right down on my project and I'm so in love with this little baby I let him stay. 
So...in a nut shell this wasn't the easiest project that I've ever tackled but it only took me a couple of hours tops (and that's including me starting dinner and walking away and doing something else in the middle of it.)

Hope this inspires you! 

Hugs,
A.